Chocolate Orange Walnut Cake

This cake is moist and decadent and just happens to be gluten-free. It is is also known as a Torta Caprese in Italy. There will be nobody feeling unhappy after a slice of this beauty, I promise!

It has a crunchy meringue like top and the inside is moist and rich. There is a nice balance between great quality chocolate and orange flavours and I simply cannot tell you how perfectly this goes with the soft, slightly sweetened whipped cream! Perfect!

In fact, my husband Big Pete said it was one of the best chocolate cakes he had ever had and neither one of us has a Gluten issue. Those who do will love it because it is not your typical dense gluten-free cake. In Europe many cakes have always been made with nut flour instead of wheat flour.

You will need:

  • 1 cup fresh walnut pieces – which will be processed to a walnut flour (1/4 cup used for dusting pan and rest in cake)**note you can replace walnuts for almonds or other nuts
  • 1 tbsp butter for coating cake pan
  • 1/4 cup mild olive oil or butter which ever you prefer
  • 150 grams of great quality dark chocolate – broken into pieces
  • 4 eggs – separated (room temperature)
  • 1 cup sugar
  • 1/4 tsp salt
  • 1 tbsp orange zest
  • 1/4 cup fresh orange juice
  • 1 cup whipping cream whipped with 2 tbsp vanilla sugar until soft peaks
  • bit of powdered sugar or cocoa powder to top

Heat oven to 350 degrees F.

Step 1: process your walnut pieces for approx 10 seconds – you want a powder but, if you process too far it will turn into nut butter. You can use almonds, hazelnuts/filberts or your favourite nut here.

Step 2: place a piece of parchment paper on the bottom of a 9 inch spring form cake pan and click the spring form right over it. I don’t even trim it. Then take 1 tbsp of butter and grease sides and bottom of pan. Remove 1/4 -1/3 cup of the walnut flour and coat the pan – knocking out any excess back into the bowl of the remaining walnut flour to be used in the batter of the cake.

Step 3: add a few inches of water to a small pan and place a bowl over the top to form a water bath. Heat on stove over medium heat to melt broken pieces of chocolate and butter (or olive oil). Let sit over heat for a few minutes before stirring. Once melted remove from stove and pan to cool before adding to cake batter.

Step 4: separate egg whites and yolks into 2 bowls.

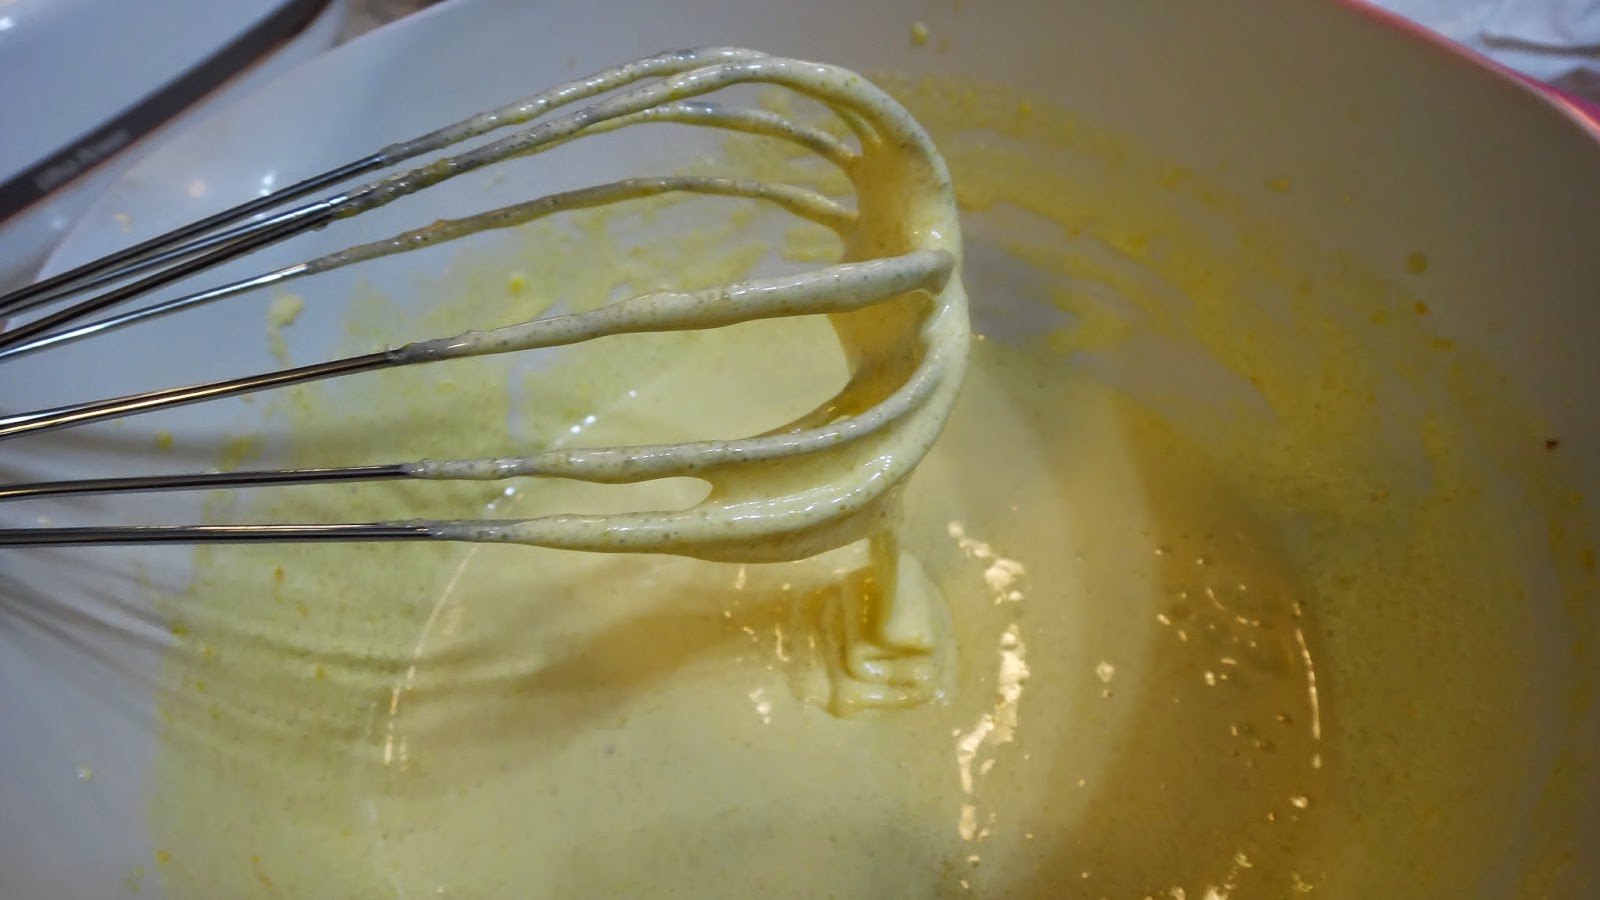
Step 5: add 1 cup sugar to egg yolks, orange juice and orange zest. Mix with a whisk or hand mixer for 3-4 minutes this will dissolve the sugar and the egg yolks will become a lighter, paler colour.

Step 6: whip egg whites on high until you get stiff peaks.

Step 7: add nut flour to the egg yolk mix and stir to incorporate well.

Step 8: add cooled melted chocolate and mix well.

Step 9: fold in egg whites with a spatula until just incorporated. Folding is when you cut your spatula into the middle of the bowl and then cut down to the bottom and fold towards yourself, then flip back into the middle. Keep spinning the bowl, cut, fold over and turn…repeat until just blended. You don’t have to be scared or worried about this step just don’t whip it or stir hard or you will deflate the eggs you spent time whipping.

Step 10: Pour batter into prepared pan and bake at 350 degrees F for 35 minutes. It will puff and then crack and fall a bit.

Remove from oven and let cool at least 20 minutes (it will deflate and crack which is fine) run a knife around cake pan to loosen and unhook. Top with a bit of powdered sugar or cocoa and serve with whipped cream. Stays fresh in a covered container at room temperature for a few days. (I just cover the plate it’s on with the Spring form pan flipped over.)

I like to eat this while slightly warm best but, honestly it is still fantastic a couple of days later!!

Walnut Apple Phyllo Rolls with Lemon Honey Drizzle

Sticky and sweet like baklava. This dessert has the addition of a grated apple and cinnamon added to the nuts and drizzled with lemon and honey. The lemon syrup is poured immediately once it comes out of the oven and then absorbs while it cools. You can make this as straight logs (more like a nut strudel) or a circle. I have made it into a zigzag so it fits into my glass pan. I prefer to use glass for this kind of dessert because you can cut directly in the pan without damaging it. I also use a mild buttery olive oil instead of butter to brush the sheets of phyllo. The lemon goes so nicely with the apple and walnut.

You will need:

  • 2 cups ground walnuts (I always store whole nuts in the freezer and grind in the food processor rather than buy ground nuts- they go rancid quickly and fresh is important.
  • 1/2 cup sugar
  • 1 tsp ground cinnamon
  • pinch of salt
  • 1 apple – peeled and grated (add the liquid and pulp)
  • 6 sheets of thawed phyllo dough
  • approximately 1/4-1/3 cup mild fruity olive oil for brushing – I used Domaine Oltremonti-Corsica
  • 1/2 cup honey (any kind you like)
  • 1/2 a lemon zested finely & then juiced
  • 1/4 cup water

Step 1: I store nuts in the freezer to keep them fresh. Nuts go rancid very quickly so taste the ones you are using to make sure they are not bad. I grind nuts in the food processor to get a fine/medium course consistency. Gather all your other ingredients. Make sure your phyllo is thawed according to directions on the box. I do mine in the fridge.

Step 2: peel an apple and grate it right to the core. Take the apple and any juices and add to a bowl. Add nuts, cinnamon, sugar and salt. Mix to combine.

Step 3: brush each of 3 sheets of phyllo dough with a thin layer of mild extra virgin olive oil or butter. I love that olive oil is delicious and so much healthier. Stack and brush each sheet with oil. 3 sheets makes 1 log.

Step 4: take half of the mixture and add along the longer side of the dough. Roll up. Repeat.

Step 5: brush oil or butter on bottom of a pan or baking dish. Leave logs straight or coil or form into a circle. Brush with more olive oil and you could sprinkle a bit more of the nut mixture if you like. I like the dessert to almost fill the baking dish so when you add the syrup it is contained near the roll and will absorb into it. So, whatever dish you use should not be much larger than the dessert.

Bake 25-30 minutes in a 350 degree oven until browned.

Step 6: in a small pan heat honey until just warmed almost to the boil. Turn off heat and zest 1/2 lemon and add fresh lemon juice and water. Stir. As soon as the dessert is out of the over carefully pour over the entire dessert. It will bubble and sizzle and you will think there is too much syrup but, it will absorb as it cools. Once cooled slice and serve with hot tea!! YUM.

Lasts on the counter for a day or two.


Pita Od Oraha – Chocolate Walnut Cake/Pie

Pita Od Oraha (means Cake of Walnuts) is a traditional Croatian dessert that is like a slab pie with an interior that is walnut and a bit of Chocolate. This is Teta Mitcica’s recipe and as a child this was my favorite cake that she always had in the house. She had some kind of dessert at the ready in case someone just dropped in for a turkish coffee. Normally there were two cakes that were often rotated. This one with walnuts and the Pita Od Jabucka which was the same except with an apple filling. She always called it a cake but, it is really more like a pie and this one is similar to a pecan pie only made with walnuts. I love it and when I ate it I was instantly transported to Billings Avenue as a little kid!

You will Need:

  • 200 grams all purpose flour (1 1/3 cups )
  • 150 grams  cold, unsalted butter- cut into small cubes (10 tbsp butter or 1 stick plus 2 tbsps)
  • 1 egg yolk
  • 3/4 tbsp cold milk
  • 1 pkg vanilla sugar (3 tsp)
  • 5 egg yolks
  • 150 grams sugar (1 1/4 cups)
  • 1 tbsp cocoa powder
  • splash of rum
  • 6 egg whites
  • 100 grams ground walnuts ( 1 heaping cup )
  • 3 QT pyrex rectangular shaped dish/ 2.8L (its written on the bottom!)
Heat oven to 350 degrees F
Step 1: in a medium sized bowl add flour and cubes of cold butter. With fingers or a pastry cutter squeeze butter or cut in butter until you get small pea shaped pieces.
Step 2: with a fork add egg yolk, milk and vanilla sugar.
Step 3: when almost incorporated put onto counter and gently press together until it forms a ball. Cut into 2 balls.
Step 4: draw the outline of bottom of the pan onto a piece of parchment paper or wax paper. Dust the paper with flour and try to roll out dough as a rectangle using the drawn outline as a guide. You can use a second piece on top just keep checking to make sure you have just enough flour to ensure pastry doesn’t stick.
Step 5: when it’s close to the right size peel off one side of paper and put in bottom of dish. If you need to cut and paste a problem area that’s ok. I like to use the bottom of a spoon to smooth out the dough and shape the sides so they are even. Roll out top piece same way. Put both pan and top in fridge to chill while making the filling.
Step 6: in a medium bowl (mine of clearly too small!) combine eggs and sugar (these egg yolks were very orange)
Step 7: add cocoa powder and mix well.
Step 8: grind walnuts until finely chopped in food processor.
Step 9: fold into chocolate mixture.
Step 10: in another large bowl with very clean beaters whip 6 egg whites until peaks hold their shape.
Step 11: fold egg whites into chocolate mixture. (I think I could have used a larger bowl!)
Step 12: pour chocolate and walnut layer on top of bottom crust.
Step 13: carefully place top layer on top of filling. Try not to get any filling on the crust. Try to make a neater top than I did.
Step 14: bake 45 minutes at 350 degrees F until lightly browned.
Step 15: let cool and slice in rows cutting on a diagonal to create diamond shapes or you can cut into squares.
Dust with lots of icing sugar in a fine strainer.