Key Lime Pie watch it on YouTube

I know I said I would write about cooking but, you need to know I love to bake as much as I love to cook. I had to make this my first food item because it’s that good. If you have ever been to Florida chances are there has been at least one fantastic Key lime pie in your memory. These are the pies people dream about and everyone has their favorite. I realize I am a little girl from Canada and I do have some kinda nerve making a Key Lime pie to rival the pies in Florida. Just try the pie! I promise I have honored the people in FLA by swearing to never use anything but true KEY LIMES and there is no substitute for fresh whipped cream . This pie is very tart and luxuriously sweet with the cool contrast of the rum cream. It is good! People beg for this pie. It is roll your eyes back in your head and moan good.
Come on! you know you want to make that!
Who wouldn’t want to eat key Lime pie? I have been perfecting this recipe for the last 20 years and I think I really have it at last. When I first started to make this pie you couldn’t even get fresh key limes in Canada. I used to buy concentrated key lime juice in a bottle whenever I could find it. Now I can almost always get fresh key limes in the grocery store. Do not under estimate the difference fresh squeezed key limes and zest make vs a bottle! In fact I beg you! Do not even try this pie if you are not willing to squeeze those little limes and use the fresh zest in your pie. I also believe you need to do that squeezing right before you use it. I also do not agree with some others that say that any old limes will do. You may get a decent lime pie if you use the regular limes but, if you want a pie that is special do what I tell you. There are many excellent recipes out there but I think everyone would agree the secret to a great pie is true key limes & you zest & squeeze them just before you use them.
As my friend George says “Gotta Do!”

Like I said before I have people who beg me for this pie! My friend Laura asks for it every birthday and I have heard she gets pretty darn possessive of “her” pie. She is a tiny slip of a goddess however, you give her a birthday pie and she thinks so no longer has to share. Hmm? that’s my friend Pat too?? I am warning you now!
What you need:
Crust:
1 1/3 cup graham cracker crumbs –these come in a box normally found in the cookie section (I have no idea why they don’t put them in the baking section!)
¼ cup shredded coconut
6 tbsp unsalted butter- melted
1 ½ -2 tbsp sugar
Filling:
5 egg yolks
2 cans of sweetened condensed milk 300ml each= 600ml (or 14oz)
2/3 cup freshly squeezed key lime juice
2 tbsp key lime zest (1 tbsp for inside pie & 1 tbsp on top of whipped cream)
Whipped Cream Topping:
1 cup real whipped cream (whipping cream) this is the entire small sized container in the dairy section.
2 tbsp sugar
1 tbsp rum extract or real vanilla extract (never artificial)
*optional 1 tsp powdered milk
Preheat oven to 350 degrees.

I usually buy ground graham cracker crumbs just because it’s easier however, you can also buy boxes with whole crackers and grind 10 cracker in a food processor until fine.
Step 1: make the crust in a mixing bowl by adding graham cracker crumbs, the coconut, the sugar & the melted butter, mixing with a spoon until moistened and combined.

1 stick of butter equals 8 tbsp or ½ cup- I just use the measurements on the side of the foil of the butter then melt the 6 tbsp in a bowl in the microwave (20 seconds will usually do it)


Step 2: Take the mixture and press into a pie plate or I am using a tart/flan pan which has a removable bottom (but be careful not to lift this type of pan by the bottom or you will push up the crust & make a big ol mess – once you have made your crust slide onto a cookie sheet for ease. I press the crust into the sides and bottom by using a measuring cup.
Bake for 8 minutes. Let cool while you prepare the filling.

This is how I buy my key limes. They come in a 1 lb bag which typically has 16 limes and once juiced it makes almost 2/3 cup of juice every time-1 bag is perfect for this recipe. This is what the condensed milk looks like. (this particular brand puts all different pictures on their cans which does confuse some people- don’t worry its all the same stuff.
I must insist here, please buy real whipping cream (unless of course you are lactose intolerant) I beg you in the name of everything that is holy DO NOT use COOL WHIP or other edible oil products. I also suggest you do not use the whipped cream in a can unless you slice the pie and then spray on the cream and serve right away. You cannot spray the whole can over the entire pie and think you can store it in the fridge for even an hour. The whipped cream in the can is full of gas that will not maintain its shape for long. It will go flat. I always use the whipped cream that you buy in the dairy section and whip with a mixer or with a whisk by hand.
Step 3: zest limes approx 6 limes should do it (separate into 2 piles –1 tbsp for the filling and 1 tbsp for the top of the whipped cream)


Step 4: Squeeze the limes into a measuring cup- 1 bag usually yields 2/3 cup key lime juice.
I like this pie very tart that’s why I use 2/3 cup of juice however, if you wanted it less tart you can use 1/3 cup key lime juice and this pie will still work out perfect. Try it both ways & see which way you like it.

Step 5: separate 5 yolks into a bowl- keep the whites for later.
*TIP* put egg whites into two small Ziploc bags in amounts of 2 egg whites and 3 egg whites-label the amount in each bag and then put into the freezer for another day. I will show you how to make a nice Pavlova some other day. Egg whites freeze perfectly well .

Step 6: In a large bowl add the condensed milk and egg yolks ( you need a good spatula to get all that sticky condensed milk out of the can) then mix.

Step 7: add the zest and juice and slowly whisk until incorporated, then whisk hard until fully smooth and homogenized. Pour into crust & bake exactly 10 minutes. Do not over bake even if you think its still jiggly. It will harden up when it cools but you don’t want it overcooked and rubbery.

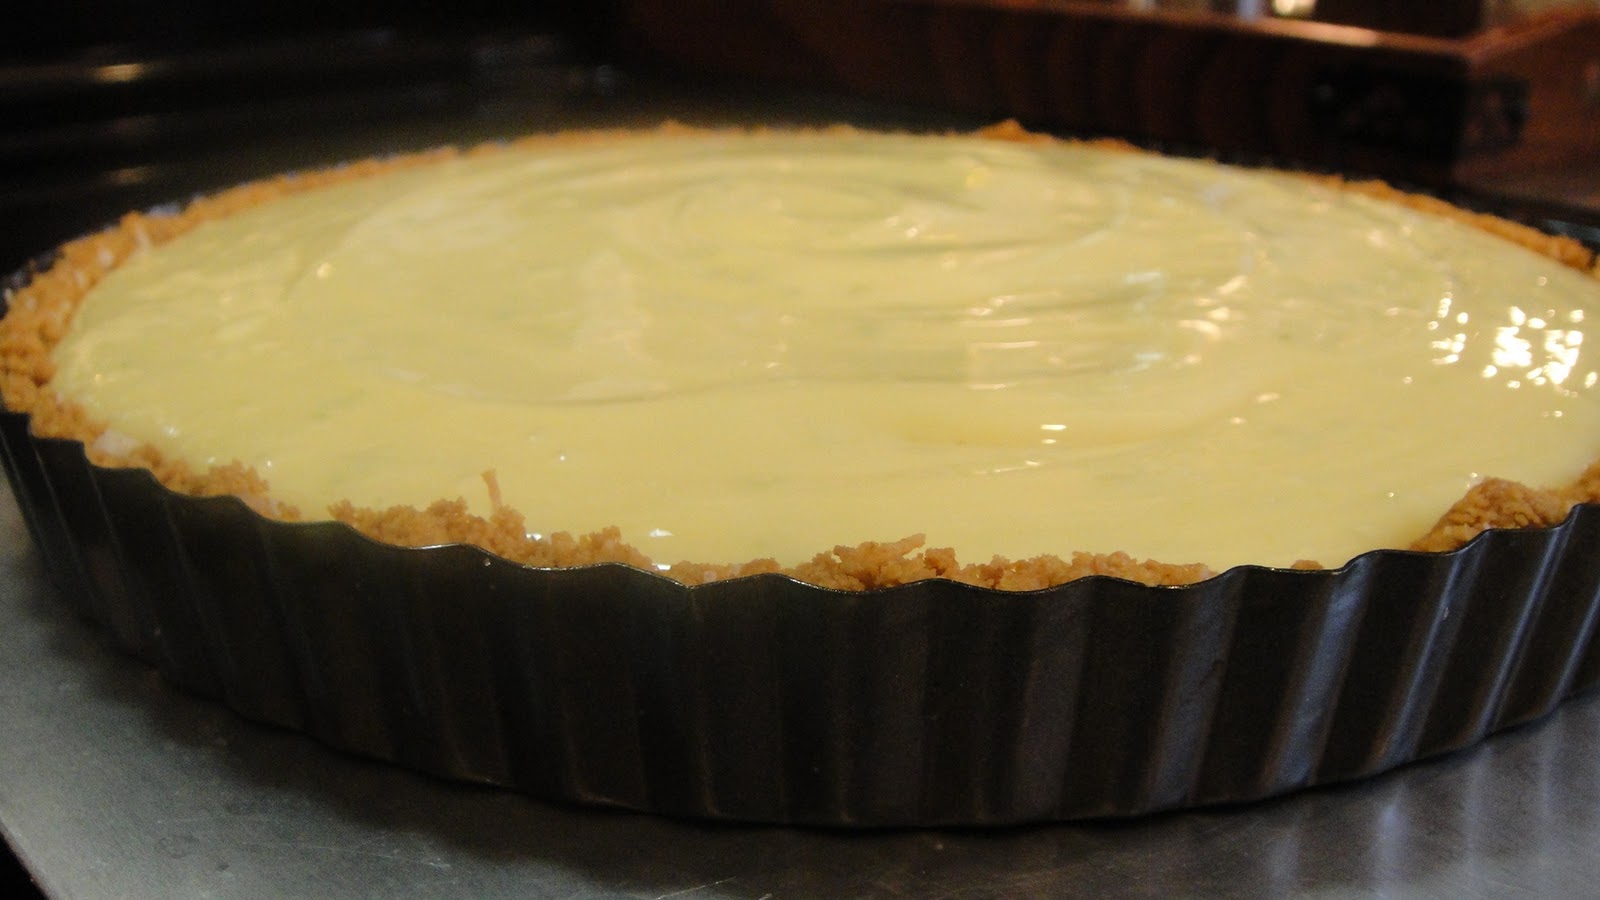

Once it comes out of the oven cool until room temperature. Put a piece of plastic wrap directly onto the pie filling and then slide onto a cutting board and into the fridge(remember the bottom will pop right out of this type of baking pan so if you are somewhat challenged then use a pie plate) Chill completely. Once the pie has cooled completely you will see that it has set nicely and you can top with your whipped cream and remaining zest.

Step 8: Pour container of whipping cream into a bowl, add your vanilla or rum extract (I make my own & I will show you how in another post) then you whip it with a mixer (start slow then increase the speed as it thickens or it just might end up on your walls (ask me how I know that!) You are looking for slightly stiff peaks so that the cream will hold up on your pie and you will be able to cut it. As you notice by this picture I whipped my cream by hand with a simple whisk. You can do this by hand in about 4 minutes ( consider it part of your arm workout) Top pie with cream and sprinkle remaining zest. You can put uncovered pie in fridge for up to 1 hour before serving.
*TIP* if you are keeping this fully assembled pie for a day or two in the fridge add 1 TBSP of powdered milk to the cream when you whip it with the other ingredients. This will help to stabilize the cream- you can find in your grocery store where they sell evaporated & condensed milk. It is a good thing to have in your pantry and I will show you how to use it in some awesome cookies in the near future.
Step 9: Remove pie from fridge and place your flat hand under the bottom of the pan, right in the center. Carefully ease outer ring so that it falls away from the sides and onto your arm. Slide the pie back on to your flat plate or counter and slip ring off your arm. Take a large clean knife and cut pie into wedges. After each slice run your knife under warm water & dry. Continue until you have cut all your slices. This makes nice clean presentation and prevents graham cracker crumbs from clinging to the edges of your slices. You have taken all this effort, don’t get all messy on me now!
If you plan on eating the entire pie (I didn’t mean that you would eat the whole pie yourself!) cover the pie with all the whipped cream. If you happen to have a few slices leftover it can keep in the fridge covered for a few days. I stick toothpicks right in the cream and then drape plastic wrap over it and seal it to the plate. The toothpicks protect the cream from getting squished.
If you know you will not eat the pie that quickly I suggest you keep it with the plastic wrap directly touching the pie in the fridge and slice it as needed. Once sliced add your whipped cream layer. You can keep the whipped cream separate in a sealed bowl refrigerated for a few days. You may need to refresh it by re-whipping it slightly before each use. It does deflate over time and can get watery so this will allow you to re-whip and still use it. This would also be the place for your can of redi whipped cream. Slice pie, top with cream and serve.
Lastly, you can slice up the entire pie (or any leftovers) and freeze it(for a short time) whipped cream and all. To thaw frozen pie slices just take out a slice and let thaw in the fridge. You could even eat it frozen.

Beware that if you have anything stinky in your fridge this kind of pie will absorb that smell/taste so please don’t wreck it at this stage in the game. Just look at how gosh darned good this looks!


Or you can bake in a pie plate (my favorite is glass but when I give them away I use the pie plate that no one needs to wash and return to me!


")


